Difference between revisions of "Zones"
From Phoenix Cart User Guide
PeterRobert (talk | contribs) |
PeterRobert (talk | contribs) |
||
| Line 18: | Line 18: | ||
</div> | </div> | ||
| − | *Click <span class="btn- | + | *Click <span class="btn-red">New Zone</span> |
*Enter the '''''Zones Name''''' and '''''Zones Code''''' (if the country for that Zone uses one). | *Enter the '''''Zones Name''''' and '''''Zones Code''''' (if the country for that Zone uses one). | ||
*Select the '''Country''' from the drop down menu. | *Select the '''Country''' from the drop down menu. | ||
| − | *Click <span class="btn- | + | *Click <span class="btn-green">Save</span> |
*Repeat for every Zone in the Country. | *Repeat for every Zone in the Country. | ||
Revision as of 17:20, 31 May 2020
<historylink type="back">🠈 Back</historylink> 🠉 ADMINISTRATION
From admin dashboard go to Locations/Taxes → Zones - you will see this:

Zones are defined here as being part of a country e.g. a state or province and are used when setting up Taxes, Payment and Shipping options and other modules.
CE Phoenix has Zones already defined for Austria, Canada, Germany, Spain, Switzerland and U.S.A.
If your location is different, or you will be selling to locations other than those already defined you can define them here.
At the bottom of the page you will see this:
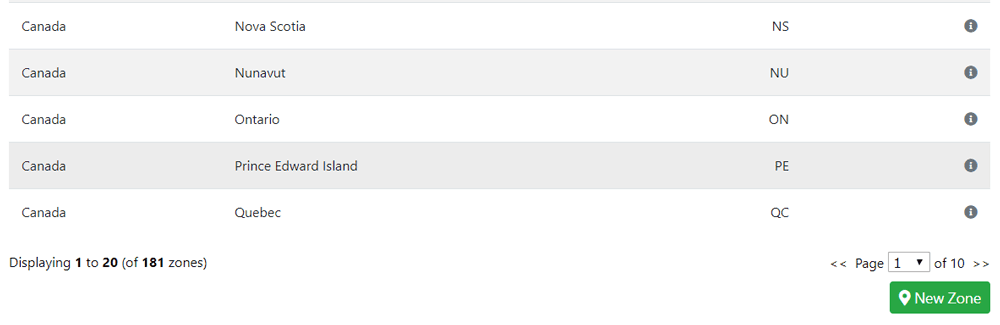
- Click New Zone
- Enter the Zones Name and Zones Code (if the country for that Zone uses one).
- Select the Country from the drop down menu.
- Click Save
- Repeat for every Zone in the Country.
Phoenix Cart User Guide, like CE Phoenix Cart, is free to use but is maintained by unpaid volunteers.
All other content is the reserved Intellectual Property and Copyright of phoenixcart.org
