Difference between revisions of "Navbar Modules"
From Phoenix Cart User Guide
PeterRobert (talk | contribs) |
PeterRobert (talk | contribs) |
||
| Line 25: | Line 25: | ||
</div> | </div> | ||
*Other modules can be installed. | *Other modules can be installed. | ||
| + | **'''Account''' shows a link to the '''Login''' page and to customer details and history when they have logged in. | ||
| + | **'''Currencies''' shows the currencies available to use in the shop. | ||
| + | **'''Home''' shows a link to the front home index page of the shop. | ||
| + | **'''Languages''' shows the languages available to use in the shop. | ||
| + | **'''New Products''' shows a link to the page showing products recently added to the shop. | ||
| + | **'''Special Offers''' | ||
| + | **'''Testimonials''' | ||
| + | |||
| + | |||
| + | |||
| + | *To install other modules: | ||
**Click <span class="btn-blue">Install Module</span> | **Click <span class="btn-blue">Install Module</span> | ||
**Click a module in the list to select it. | **Click a module in the list to select it. | ||
Revision as of 12:24, 30 October 2019
<historylink type="back">🠈 Back</historylink> 🠉 ADMINISTRATION
From admin go to Modules → Navbar Modules to see this
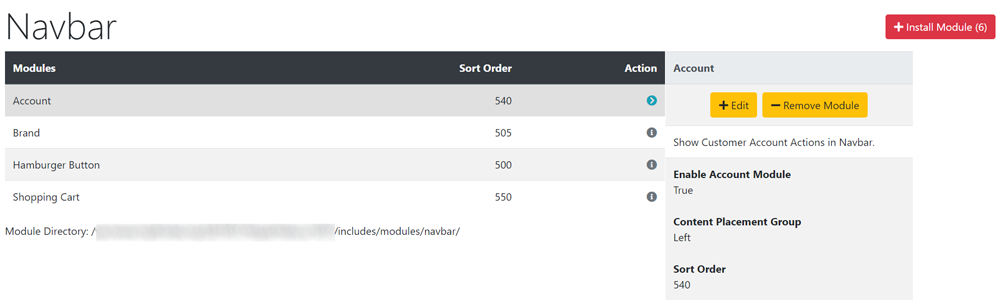
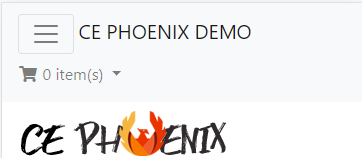
- There are 3 modules installed by default which display on the shop like this:

- Brand displays your Store Name as defined in Configuration → My Store
- The setting for Content Placement Group is Home to display it on the far left - this placement can not be changed.
- Shopping Cart displays the customer's cart contents in a drop down menu.
- The setting for Content Placement Group is Right to display it on the right - this can be changed if required.
- Hamburger only displays if the shop is viewed on a mobile phone.
- The other modules (except Brand) will not appear if the shop is viewed on a mobile phone.
- The Hamburger is a menu that will display those other modules when clicked to see this:
- Other modules can be installed.
- Account shows a link to the Login page and to customer details and history when they have logged in.
- Currencies shows the currencies available to use in the shop.
- Home shows a link to the front home index page of the shop.
- Languages shows the languages available to use in the shop.
- New Products shows a link to the page showing products recently added to the shop.
- Special Offers
- Testimonials
- To install other modules:
- Click Install Module
- Click a module in the list to select it.
- Click Install Module
- Click Edit
- Choose a Content Placement Group option to display on the left or right of the Navigation Bar.
- Enter a value for Sort Order to change its position on the Navigation Bar
- Click Save
- The appearance, colour and behaviour of the Navigation Bar can also be changed.
- From admin go to Modules → Content
- Click Navigation Bar in the list to select it.
- Click Edit
- Make a note of the default settings so they can be changed back to default if necessary.
- Choose a colour option in Background Colour Scheme.
- Choose an option for Link Colour Scheme
- Choose an option for Placement, Placement Offset and Collapse
- It is best to have a play with these options and have a look on the shop to see the results you require.

Please visit again soon for additions and changes
Phoenix Cart User Guide, like CE Phoenix Cart, is free to use but is maintained by unpaid volunteers.
All other content is the reserved Intellectual Property and Copyright of phoenixcart.org
