Difference between revisions of "Change Logo"
From Phoenix Cart User Guide
PeterRobert (talk | contribs) |
PeterRobert (talk | contribs) |
||
| Line 15: | Line 15: | ||
<hr> | <hr> | ||
| − | <span class="btn-grey">[[Set_up_Stock| | + | <span class="btn-grey btn-prev">{{#fas:arrow-left}} [[Set_up_Stock|Previous Step]]</span> |
| − | <span class="btn-grey">[[Change_Language_Files|Next Step | + | <span class="btn-grey btn-next">[[Change_Language_Files|Next Step]] {{#fas:arrow-right}}</span> |
<hr> | <hr> | ||
{{Contribute}} | {{Contribute}} | ||
Revision as of 06:46, 25 March 2021
Back
Setup Shop
- From admin go to
 Configuration → Store Logo - you will see this:
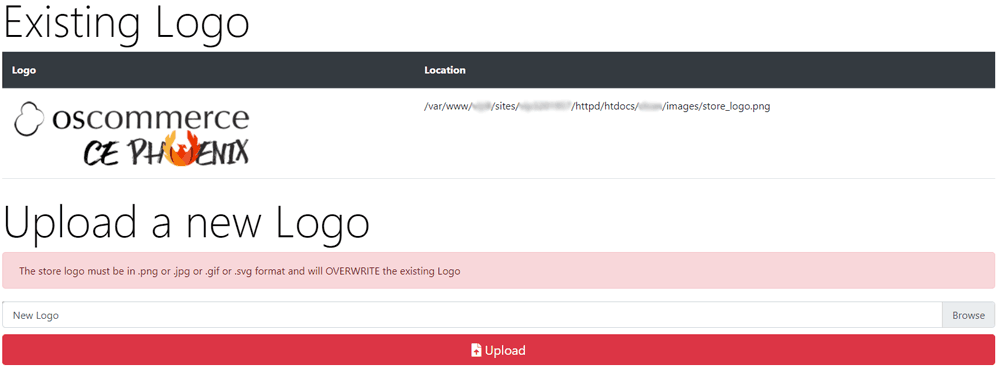
- Click Browse to choose your logo on your local computer.
- Click Upload - that's it!
It is also a good idea to add a Favicon to the shop - see Create a Favicon
Phoenix Cart User Guide, like CE Phoenix Cart, is free to use but is maintained by unpaid volunteers.
All other content is the reserved Intellectual Property and Copyright of phoenixcart.org
