Set up Product Options and Attributes
From Phoenix Cart User Guide
Revision as of 08:17, 17 September 2024 by PeterRobert (talk | contribs)
Back
From admin go to  Catalog → Products Attributes - you will see this:
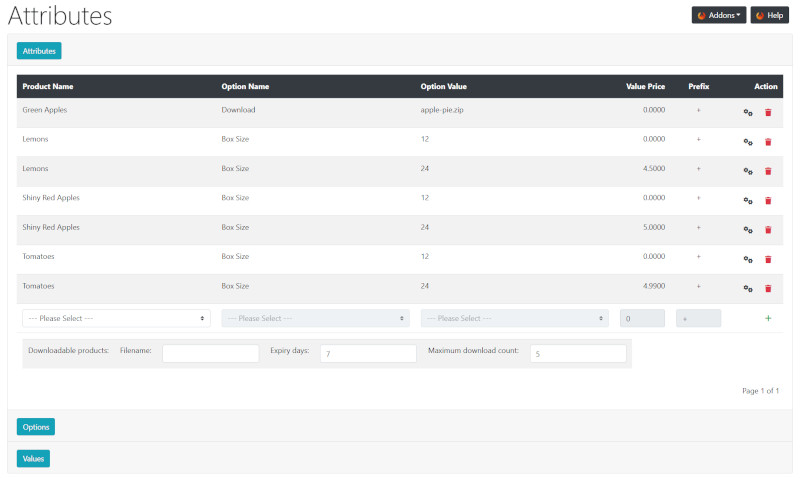
Attributes
This assigns existing Options to Products:
- Click Attributes to open the panel.
- Choose a Product Name from the pull down menu.
- Choose an Option Name from the pull down menu.
- Choose an Option Value from the pull down menu.
- Enter a net price adjustment in the Value Price input box if required.
- Enter a + or - prefix in the Prefix input box to add or subtract the price adjustment from the product price.
- Click + to insert.
- Repeat for each Option you wish to apply to a product.
Downloads
For downloadable products.
Options
This creates new Options
- Click Options to open the panel.
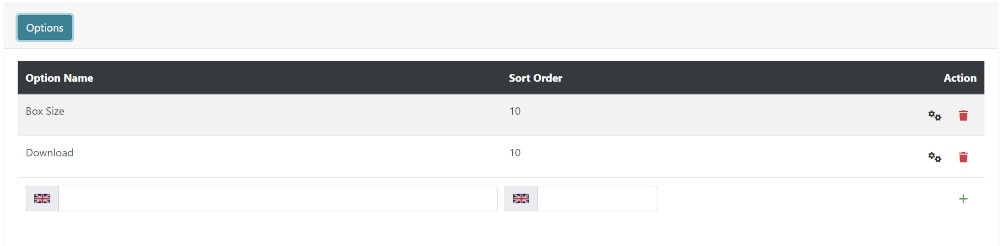
- Enter a new Option Name in the input box next to the language flag.
- Enter a Sort Order. The options will be listed in that order in the module on the product page.
- Click + to insert.
Values
This creates new Values for each Option
- Click Values to open the panel.
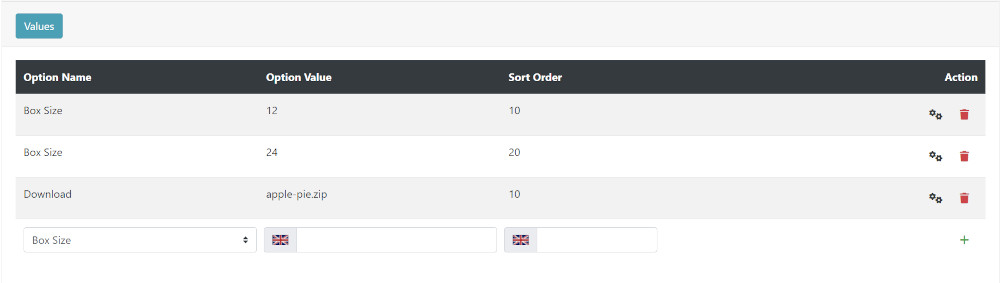
- Choose an Option Name from the pull down menu.
- Enter an Option Value in the input box next to the language flag.
- Click + to insert.
- Repeat to assign additional Option Values to Option Names.
If digital downloads are being sold - see Download
Many Addons and Extensions available in the CE Phoenix Cart Addons Library
If help is needed, support is available in the CE Phoenix Cart Support Forum
Phoenix Cart User Guide, like CE Phoenix Cart, is free to use but is maintained by unpaid volunteers.
All other content is the reserved Intellectual Property and Copyright of phoenixcart.org
